7 Tips for Spray Painting 3D Printed Parts
Spray Painting 3d Printed Parts can turn a visibly layered print into a clean, convincing object, but the finish begins before the paint can opens. A fingerprint near the edge, a rough seam, or dust trapped in a corner can remain visible under every coat. This guide introduces seven practical tips for preparing and painting printed parts, from sanding and cleaning to priming, choosing light coats, and allowing proper drying time. Small details matter. A test piece can reveal whether the paint adheres well and whether the color changes after drying.
Joel Telling, a 3D-printing educator known as The 3D Printing Nerd, shares practical advice about making and finishing printed objects. Without a verified, topic-specific quotation, it would be misleading to put invented words in his mouth. A useful shop-floor principle, offered here as a paraphrase rather than a direct quote, is: “Good preparation gives paint a fair chance to look its best.” That idea guides the tips ahead, while leaving room for a reality makers sometimes overlook: one method will not suit every filament, shape, or paint. Results can be imperfect. A hidden test patch and patient inspection often prevent an attractive print from becoming a sticky, uneven disappointment.
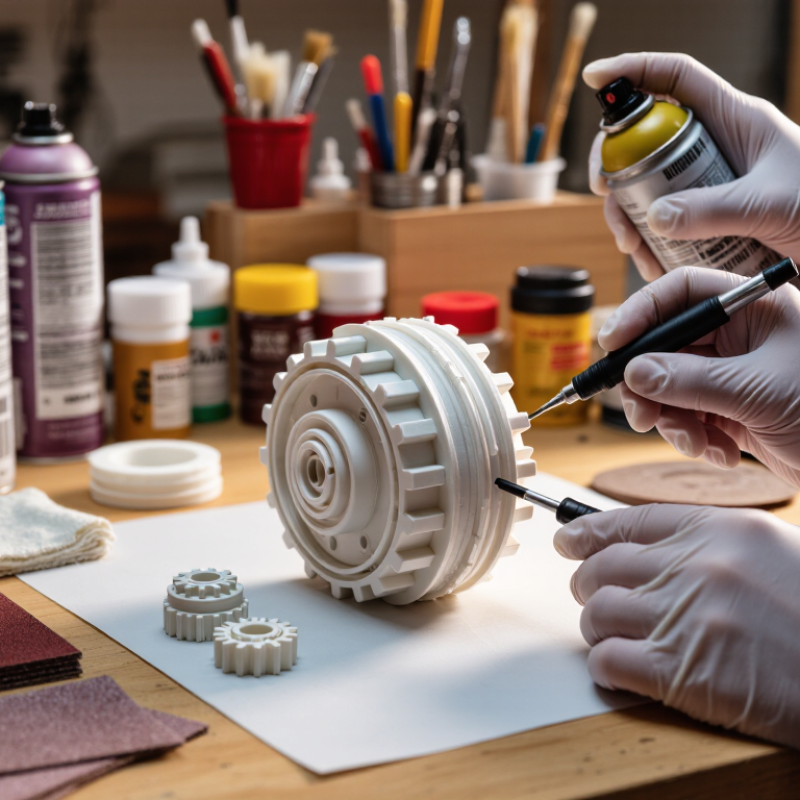
Choose Paints That Bond With 3D Printing Materials
Choose paint for the plastic, not just the color. PLA, ABS, PETG, and cured resin can react differently to primers and solvents. A coating that looks smooth on one print may wrinkle, stay tacky, or peel from another. Check the paint label for compatibility with the part’s material, and use a plastic-compatible primer when recommended. Wohlers Report 2024 estimated that the additive manufacturing industry generated about $20.0 billion in revenue in 2023, an 11.1% rise from 2022. That figure reflects a growing industry, not proof that any paint bonds to every printed polymer. A useful distinction.
Test a scrap first. Wash away dust and skin oils, then let the part dry fully. Lightly sand a hidden area; deep sanding can expose print lines or weaken thin details. Apply a small primer patch and let it cure for the time stated on its label. Press masking tape onto the test area and peel it back gently. If paint lifts, change the primer or paint system before coating the whole piece. Keep coats thin, especially around seams and sharp edges. The tempting shortcut is spraying heavily to hide layer lines, but wet paint can pool there. Even careful testing has limits: filament blends, surface texture, and curing conditions vary. Recheck the exact print.
7 Tips for Spray Painting 3D Printed Parts: Choose Paints That Bond With 3D Printing Materials
Typical paint-bonding ease by material after appropriate cleaning, surface preparation, and priming
How to read this chart: Scores are qualitative guidance on a 1–5 scale, not standardized laboratory measurements. Higher scores indicate that a durable paint finish is generally easier to achieve with suitable surface preparation. Results vary with filament or resin formulation, surface condition, paint type, and primer.
Prepare a Ventilated Workspace and Gather Supplies
Choose a ventilated, uncluttered workspace before opening the paint. Spraying outdoors can reduce indoor buildup, but avoid windy spots that blow dust onto tacky parts. Indoors, use a purpose-built spray booth or suitable local exhaust that carries overspray away from your breathing zone. OSHA’s spray-finishing standard, 29 CFR 1910.107, specifies at least 100 feet per minute of average air velocity for covered spray booths. That figure is a booth-design benchmark, not proof that an ordinary room is safe. Keep ignition sources away, and check the paint’s safety data sheet for ventilation and protective-equipment guidance.
Tip: Cover the bench with a disposable drop cloth. Set parts on a stable stand, and keep paint, gloves, eye protection, and the safety data sheet within reach. Small parts roll easily. I learned that the messy way.
Before spraying, test airflow with the booth operating and confirm it moves fumes toward the exhaust, not across your face. Don’t rely on an open window or a household fan; they may not control overspray and could introduce other hazards. Allow ventilation to continue as the product instructions specify. If the room smells strongly of solvent, stop and reassess the setup rather than treating the odor as a reliable safety gauge.
Clean, Sand, and Prime the Printed Surface
A clean surface begins before the spray can comes out. The 2024 Wohlers Report estimated that additive manufacturing generated about $20 billion globally in 2023, an 11.1% increase from 2022. That growth makes repeatable finishing useful, but the report does not prescribe a sanding method. For a printed part, remove supports, then wash away dust and skin oils using a material-compatible cleaner. Let the part dry fully. Check it under a lamp held low; the angled light reveals ridges and small pits that overhead lighting can hide.
Sand gently, following the part’s contours. Start with medium-fine abrasive, then move to a finer grade if the layer lines remain visible. Pressing hard can flatten corners or expose infill. Less is safer. Brush or wipe away sanding dust before priming. Apply a light, even primer coat rather than trying to fill every defect at once. Let it dry according to its label, then inspect again; primer often makes missed scratches easier to see. A second thin coat may help, but deep gaps need repair before priming. One useful caution: more sanding is not always better. I would rather keep a faint layer line than erase a sharp edge.
Apply Several Thin Coats for Even Coverage
A smooth finish usually comes from patience, not a heavy first pass. Shake the paint as directed, then test the spray on scrap material or an inconspicuous part of the print. Hold the can at a consistent distance and begin moving before you press the nozzle. Sweep across the surface in steady passes, slightly overlapping each one. Keep your hand moving. A wet, glossy patch may look like better coverage, but it can quickly sag into a run, especially around corners and raised details. Let each coat dry for the time listed on the paint instructions.
Build the color gradually with several light coats. Rotate the part between passes so the spray reaches sidewalls, recesses, and the underside of ledges. Avoid trying to hide every visible layer line with paint; thicker coats can soften small details without leveling the surface evenly. If a dry coat looks slightly streaky, that is not necessarily a problem. The next pass may even it out. I would still pause to inspect the part in angled light, because missed spots can be hard to see head-on. If you notice a drip, resist wiping it while wet; let it dry, smooth the area carefully, and apply another thin coat. Follow the product label for ventilation and handling, and allow the final coat to cure before assembling or touching the part often.
7 Tips for Spray Painting 3D Printed Parts - Apply Several Thin Coats for Even Coverage | # | Tip | Practical guidance | Why it helps |
| 1 | Prepare the print surface | Remove support material, smooth rough areas as needed, and wipe away dust with a clean, dry cloth. Test any cleaner on a hidden area first. | Dust and loose material can interfere with paint adhesion and leave visible flaws. |
| 2 | Check material and paint compatibility | Check the paint and primer instructions for compatibility with the print material. Apply a small test patch before painting the whole part. | Some solvents can soften or damage certain plastics, so a test helps reveal problems early. |
| 3 | Use primer when appropriate | Apply a compatible primer in light, even passes and let it dry according to its label before adding color. | Primer can improve adhesion and help make the surface appearance more uniform. |
| 4 | Set up a safe, suitable workspace | Work outdoors or in a properly ventilated spray area, protect nearby surfaces, and follow the product label for protective equipment and use. | Spray paint can produce airborne particles and vapors; ventilation and label-directed precautions reduce exposure. |
| 5 | Keep the can moving at a steady distance | As a starting point, hold the nozzle about 20–30 cm (8–12 in) from the part, unless the label specifies otherwise. Begin and end each pass beyond the part's edges. | Steady movement and distance help reduce paint buildup, runs, and uneven coverage. |
| 6 | Apply several thin coats | Use light, overlapping passes instead of trying to cover the part in one heavy coat. Allow each coat to dry for the interval stated on the paint label. | Thin coats are less likely to sag or pool and make it easier to build even coverage gradually. |
| 7 | Rotate the part and allow a full cure | Reposition the part between passes to reach different sides. After the final coat, leave it undisturbed for the full drying or curing time specified by the manufacturer. | Changing the angle helps reach hidden surfaces, while adequate curing reduces the risk of fingerprints or damage during handling. |
Allow the Paint to Cure Before Handling or Sealing
Allowing spray paint to cure is different from waiting until it feels dry. A part may seem touch-dry while softer layers underneath still release solvent. Handle it too soon, and a fingertip can leave a shiny print or drag paint from a sharp edge. Not yet. Set the piece on a clean, stable surface where dust and curious hands are less likely to reach it. Keep it away from direct heat, which can soften plastic or dry the surface unevenly.
Cure time depends on the paint, coat thickness, temperature, and humidity, so there is no reliable universal wait. Follow the product’s stated curing guidance, not just its “dry to touch” estimate. Thin coats usually reduce the chance of a gummy finish, but even a light coat needs time. I used to assume a firm surface meant the part was ready; that was an easy mistake. Before sealing, test an inconspicuous area or a matching scrap print. If it feels tacky, smells strongly of solvent, or takes a fingerprint, wait longer. A sealer applied too early can trap lingering solvent and leave the finish cloudy or soft. Patience is boring. It also saves sanding a thumbprint off a tiny printed detail.